
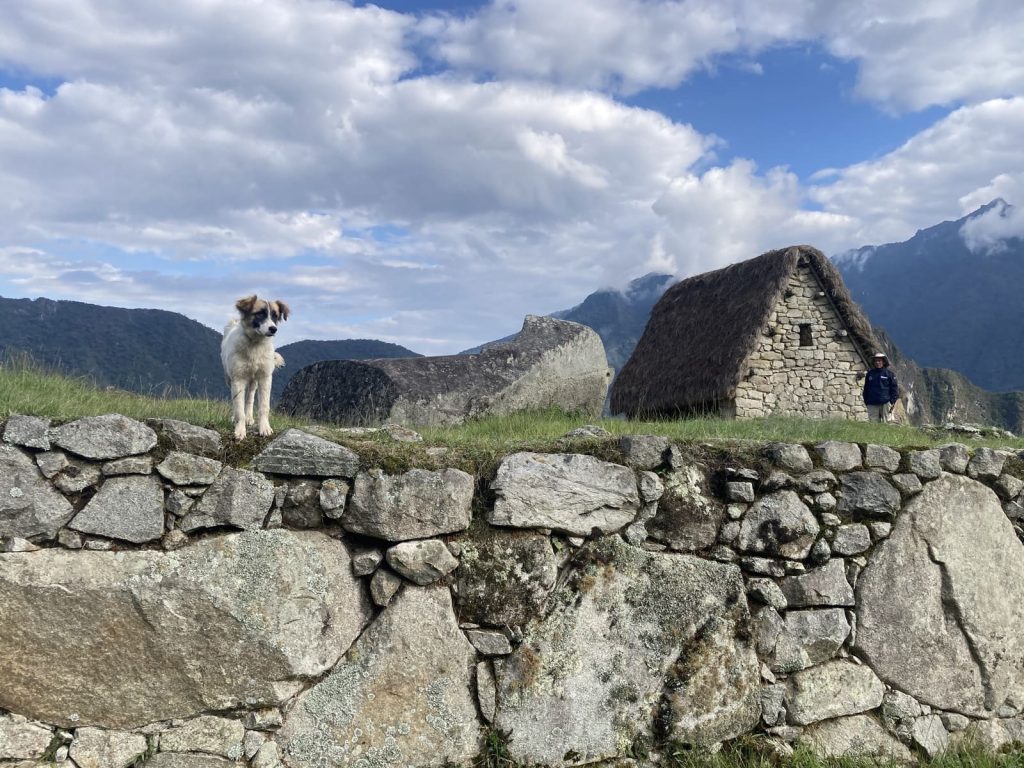
Machu Picchu is one of the most photographed ruins on earth, yet most visitors leave with the same three frames everyone else got, shot from the same crowded overlook. This Machu Picchu photography guide is about avoiding that. A good photograph here has less to do with your camera and more to do with three things: which circuit you walk, what time the light actually clears the surrounding peaks, and knowing in advance what the guards will and won’t let you carry through the gate.
If you’re arriving on foot via the classic four-day trek, save your trail-specific shot list (sunrise at Dead Woman’s Pass, campsite light, the walk-in through the Sun Gate) for our Inca Trail photography guide; that’s a different skill set from photographing the citadel itself. This guide picks up once you’re standing inside Machu Picchu, whether you arrived by trek or by train.
Below: how the numbered visitor circuits affect what you can actually photograph, when the light is worth chasing by season, the tripod and drone rules that catch first-timers off guard, whether the extra climb up Huayna Picchu is worth it for the view, and the gear that earns its weight on a site with no shade, thin air, and unpredictable weather.
Quick Answer: For the classic elevated postcard shot, book Circuit 1, which stays on the overlook terraces near the entrance (Route 2-B also reaches the lower terrace). Shoot in the first couple of hours after opening for the clearest light before afternoon cloud builds. Tripods, monopods, and selfie sticks are not permitted for general visitors, and drones are prohibited without special government authorization. Huayna Picchu requires a separate advance ticket and delivers the best aerial angle over the whole citadel, but permits are limited and the trail is steep. Full circuit logistics live in our Machu Picchu circuits guide, and current ticket pricing is in our guide to Machu Picchu tickets.
Where to Find the Classic Shots
Peru’s Ministry of Culture manages visitor flow through the citadel with numbered, one-way circuits. You commit to a circuit when you book your entry ticket, and once you’re inside you cannot backtrack onto a route you didn’t buy. That matters more for photographers than for anyone else, because it determines whether you’ll ever stand at the classic elevated overlook or not.
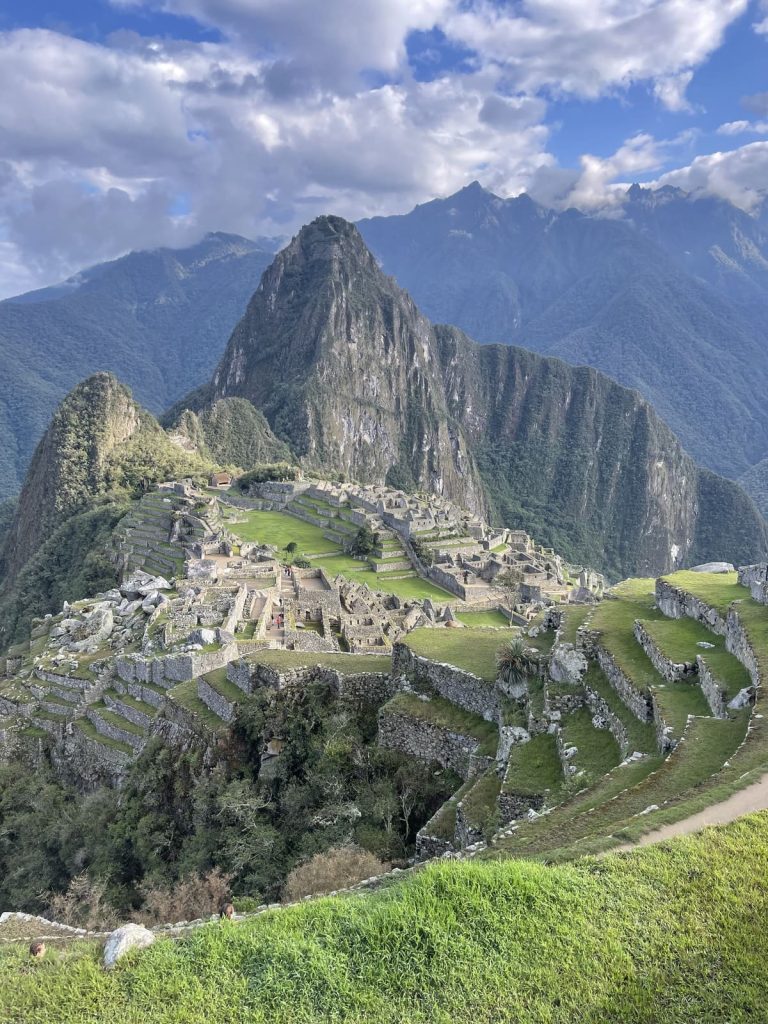
Circuit 1 stays on the terraces near the entrance, where the postcard wide shot comes from: citadel, Huayna Picchu, and the Urubamba river bend all in one frame. Circuits 2 and 3 move through the city at close range. Neither is “better”; they suit different shots.
| Circuit Group | What It’s Like for Photographers |
|---|---|
| Circuit 1 (Panoramic) | Stays on the elevated overlook terraces near the entrance and never enters the city. This is where the standard wide, whole-citadel postcard shot comes from. Best choice if the classic aerial-style frame is your priority. |
| Circuits 2 and 3 (Classic, Royalty) | Move through the city at closer range. Route 2-B starts at the lower terrace; no route here reaches the upper one. Better for architectural detail, doorway framing, terraced-wall texture, and llama portraits than for the wide shot. |
If the classic wide-angle frame is the one shot you can’t leave without, prioritize booking Circuit 1. Don’t assume you can improvise it from another circuit. For the full breakdown of what each circuit covers, how they’re timed, and how to choose between them for your itinerary rather than just for photos, see our Machu Picchu circuits guide.
Best Light Windows by Season
Machu Picchu sits in a saddle between Machu Picchu Mountain and Huayna Picchu, on the edge of the cloud forest. That geography shapes the light more than the clock does. The surrounding peaks throw long shadows across the citadel at first light, so direct sun typically reaches the ruins later than actual sunrise, and the site can look flat and shadowed even after the sky outside has brightened. Mornings are generally the clearest window of the day; cloud tends to build up from the forested valleys below as the day warms, which is a well-documented pattern at this elevation and exposure.
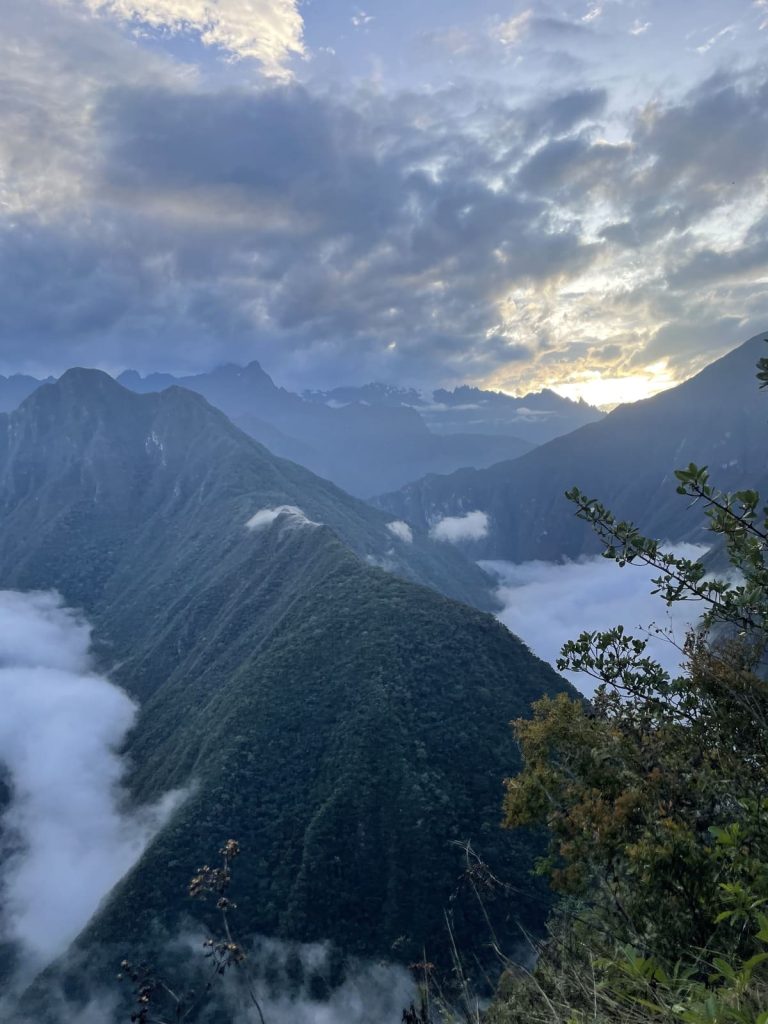
Practically, that means the first couple of hours you’re inside the site, whatever your entry time slot happens to be, are usually your cleanest light of the day. Afternoons more often bring haze, building cumulus, or outright cloud cover rolling in from the valley, especially later in the day.
| Season | General Light Character | Photography Note |
|---|---|---|
| Dry season (roughly May–September) | Clearer mornings, more consistent visibility, occasional regional haze | The most reliable season for consistent, detailed wide shots |
| Shoulder months (April, October) | Mix of clear mornings and afternoon cloud buildup | Good compromise season; afternoon partial-cloud light can be dramatic if you’re patient |
| Wet season (roughly November–March) | Frequent morning mist that can clear suddenly, higher chance of rain later | Best for atmospheric, moody shots when the mist breaks; protect your gear and be ready to shoot fast |
There’s no way to guarantee clear light on any single visit: this is a mountain microclimate, not a studio. Book the earliest entry time slot your itinerary allows, treat any break in the cloud as your cue to shoot rather than waiting for ideal conditions, and have a backup composition ready for a flat or misty morning, since some of the most striking Machu Picchu photographs are the misty ones, not the blue-sky ones.
Tripod & Drone Rules
These two rules trip up more photographers than anything else on this list, and both are strictly enforced.
Drones are prohibited at Machu Picchu without special government authorization. Peru’s Ministry of Culture does not allow recreational drone flights over the citadel or the surrounding archaeological park. It’s a protected UNESCO World Heritage Site, and unauthorized flights risk confiscation of the equipment and fines. If you see drone footage of Machu Picchu online, assume it came from an authorized commercial or research permit, not a tourist flying casually. Don’t bring one expecting to fly it; leave it at your hotel in Cusco or Aguas Calientes.
Tripods, monopods, and selfie sticks are generally not permitted for standard visitors inside the citadel. The restriction exists mainly for crowd flow: the stone paths are narrow, one-way, and often packed, and a planted tripod leg becomes a bottleneck and a preservation hazard on 500-year-old stonework. Professional and commercial shoots can sometimes arrange authorization in advance through official channels, but that’s a separate process from a standard entry ticket and isn’t something to plan around for a personal trip.
In practice, that means you’re shooting handheld the entire visit. A few adjustments make a real difference:
- Raise your shutter speed or use burst mode for anything you’d normally steady on a tripod, especially in lower morning light
- Brace your body against a solid stance (feet apart, elbows in) rather than leaning on any wall or structure
- If your camera or lens has image stabilization, this is exactly the trip to use it for
- Bring a small clamp-style or flexible mini support only if you plan to use it off the main paths, and expect a guard to ask you to put it away inside the citadel itself
Huayna Picchu Viewpoint
The steep peak behind the citadel in almost every classic photograph is Huayna Picchu, and you can climb it. It is its own ticket, Route 3-A on Circuit 3, which pairs the climb with the lower city rather than adding it to another entry. Current pricing and how to add it to your booking are covered in our Machu Picchu ticket prices guide. Permits are limited and sold in timed morning entry groups, so this isn’t something you can decide to do the same day you arrive.
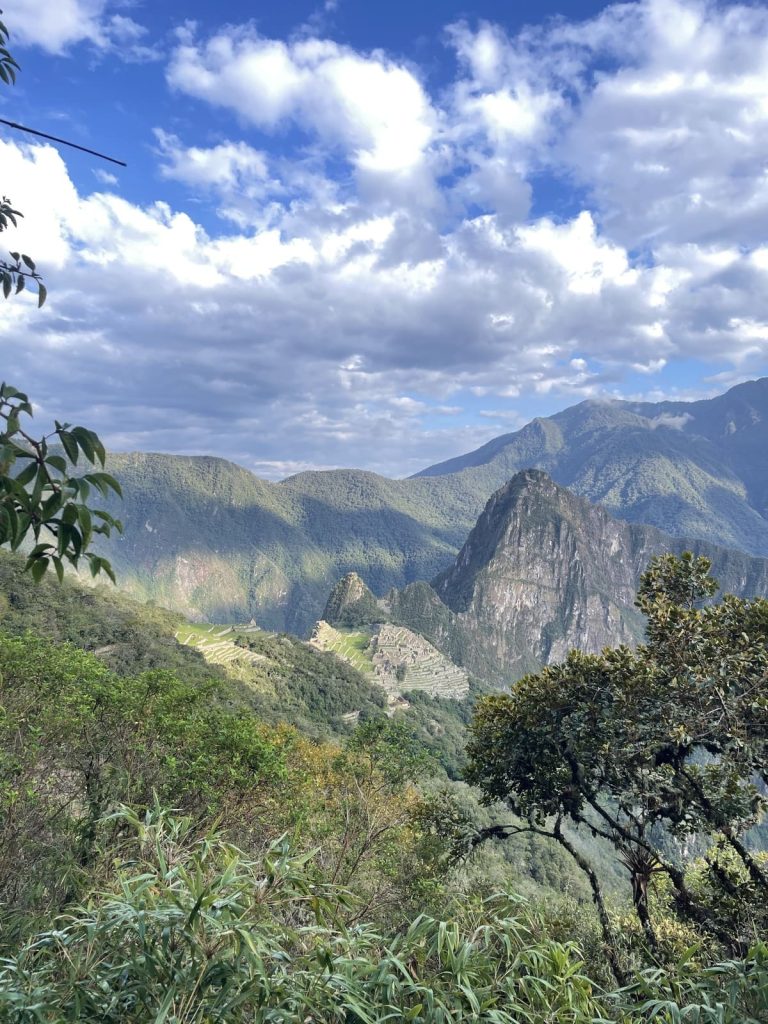
For photography, Huayna Picchu is the highest-value climb on the site: it’s the only vantage point that puts the entire citadel, the terraces, and the hairpin bend of the Urubamba River below in a single elevated frame. This is the “postcard from above” shot you’ve seen but that most visitors never actually stand for. The tradeoff is real effort. The trail is steep, narrow, and exposed in places, with fixed ropes and steps cut into rock, and it demands reasonable fitness and a tolerance for drop-offs. This is not a casual detour with a heavy camera bag.
A few things to plan for if you book it:
- Space at the summit is tight and shared with everyone in your entry group. The tripod ban applies here too, so plan on handheld shots
- A wide-angle lens is essential to fit the citadel, the mountain ridgeline, and the river in one frame from that height
- Keep your camera on a secure strap the entire climb; several sections have real exposure and no room to fumble gear
- If you can’t get a Huayna Picchu permit, Machu Picchu Mountain offers a different, wider elevated angle over the site and tends to have more availability
Camera Gear for the Citadel
You’ll be on foot, at altitude, with no shade and no tripod, for several hours. The gear that earns its place is the gear that works handheld and survives sudden weather, not the gear that’s heaviest.
- A wide-angle lens or wide zoom for the overlook shot and for the citadel’s tight interior spaces, where you often can’t step back far enough to fit a full structure with a standard lens
- A short telephoto for compressed shots of terraces from across the site, architectural detail, and the llamas that graze the upper terraces, which you generally shouldn’t approach closely
- A polarizing filter cuts glare off wet stonework and haze in the valley air, and deepens the sky in dry-season light
- Rain protection for your gear: a lightweight rain cover or dry bag, even in dry season; weather at this elevation changes fast and without much warning
- Spare batteries, since cold mornings and altitude both drain batteries faster than they do at sea level, and there’s nowhere inside the site to recharge
- Extra memory cards, because you will shoot more than you expect, especially if you’re bracketing exposures by hand instead of relying on a tripod
- A comfortable strap or harness, because you’ll be carrying the camera in hand or across your body all day on uneven stone stairs; a bag you have to keep unzipping costs you shots
Skip anything you’d only use with a tripod. A remote shutter release or an intervalometer for long exposures has no real use here under the current rules. Prioritize speed and handheld stability instead: fast glass, a body that handles higher ISO cleanly, and a routine for checking exposure quickly so you’re not fumbling settings while your circuit group moves on without you.
Photographing Machu Picchu well is mostly a planning problem: the right circuit for the shot you want, an early entry slot for the cleanest light, and gear packed for handheld, all-weather shooting rather than a tripod setup you won’t be allowed to use. If you’re still building out the rest of your visit, start with our full Machu Picchu planning guide for everything beyond photography, or, if you’re combining the citadel with the walk-in trek, see our Classic Inca Trail page for the trek itself.